Dimensional Signs are usually dimensional signs made of acrylic, PVC or wood materials. Being 3-dimensional adds depth to these signs and provides a stylish look. Dimensional Signs can be used indoors and outdoors. They are completely customizable and have a wide range of uses.
They are usually used in receptions, waiting rooms, offices and store fronts. They can be installed on any surface. There are many different installation methods. In this article, we talked about gluing dimensional signs with silicone. The biggest advantage of gluing your sign with silicone is that you will not need to drill the wall. In addition, your sign that you glue with silicone will be durable enough. (This may change in outdoor use.)
If you have not received your Dimensional sign yet, you can order it immediately. As SignsAtelier, we also provide free design and mockup.
Table of Contents
ToggleYou can install Dimensional Signs by following these steps:

First, determine the surface you will be installing (wall, door, etc.). Clean the surface of any dust, dirt, and grease. Make sure the surface is dry.
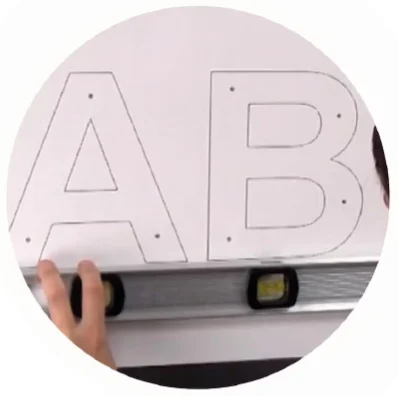
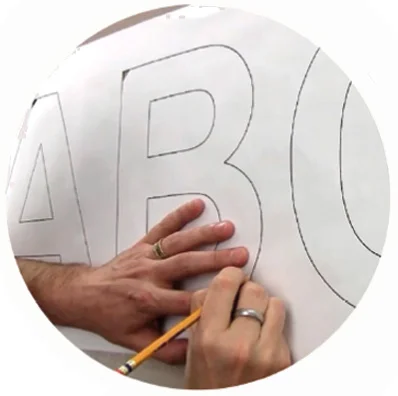
Apply the template that comes with the sign to the wall. Make sure the template is positioned correctly using a spirit level or ruler. Mark the wall with a pencil along the cut sections of the template. Then remove the template. The areas you marked with a pencil will be visible on the wall.


To stick the letters, puncture the end of the silicone. Attach the silicone cap and cut the cap from a place that is not too thick. Apply the silicone in dots to the back of the letters and shapes. Be careful not to get too close to the edges of the letters. Apply a small amount of silicone to prevent the silicone from overflowing from the sides.
If there is silicone overflowing from the sides, do not try to wipe it off before it dries. This will cause the silicone to spread more on the surface.
Place each letter and shape on the surface by pressing it so that it matches the areas you marked on the surface. Do not move it too much after placing it so that the silicone does not spread.
You can use tape or another support until the silicone dries to prevent large and heavy shapes from falling.
The silicone will dry completely in 8 hours. You can remove the tapes you used for support after it is completely dry.
Your sign usually comes with a protective layer on its surface. This is to prevent scratches during assembly. You can remove the protective layer after assembly.
Installing Dimensional signs correctly ensures longevity of the sign. By following these installation steps, you can easily install your sign. If you have a specific question about assembly, please contact us.
You can access the installation instructions of all our sign models below.
SignsAtelier is a sign shop that provides worldwide service and combines creativity with high quality.