
Step-by-step instructions for install a backlit channel letter sign seamlessly integrated into your wall with concealed wiring. Trust our expert guide for a professional, hassle-free installation process.
Table of Contents
ToggleThis type of sign involves a permanent installation within the wall, with all wiring concealed. It’s essential to enlist the services of a licensed electrician for this installation process.

The sign is equipped with 12V DC power leads emerging from its back, along with a power adapter. The responsibility falls on an electrician or contractor to install internal wiring within the wall, either through conduit or other suitable methods, leading to a location where the power supply can be connected.
The sign will come with a template indicating the positions for drilling holes to mount the sign securely onto studs (included), as well as where to drill holes for routing the wires. Each part of the sign will have its designated wire location. Please note: We can provide a template once we have completed the production of the sign.
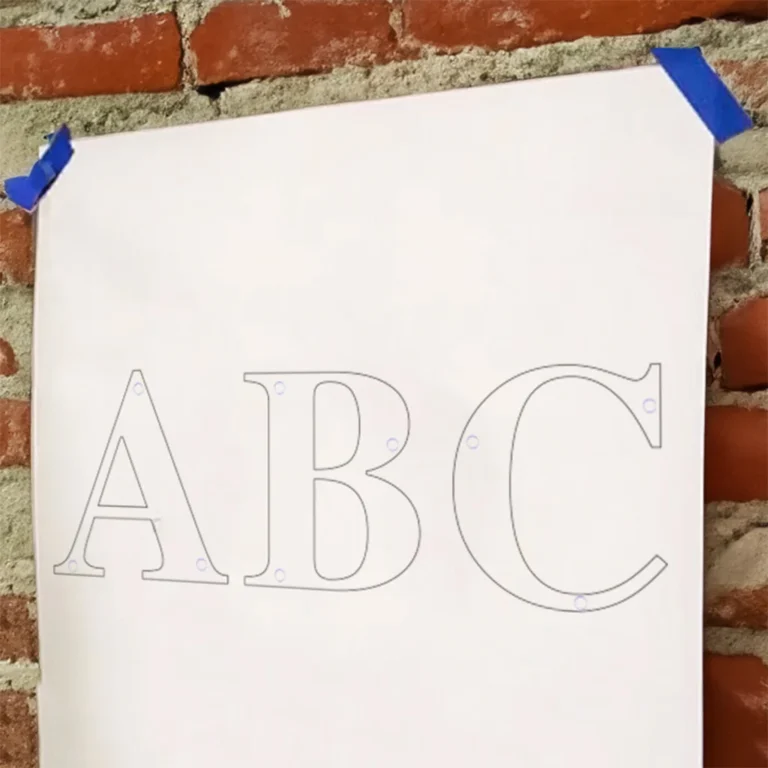
Each illuminated section of your sign will have its own power cord. For a seamless look, each illuminated section’s cord should be routed discreetly through the wall or built into the wall.
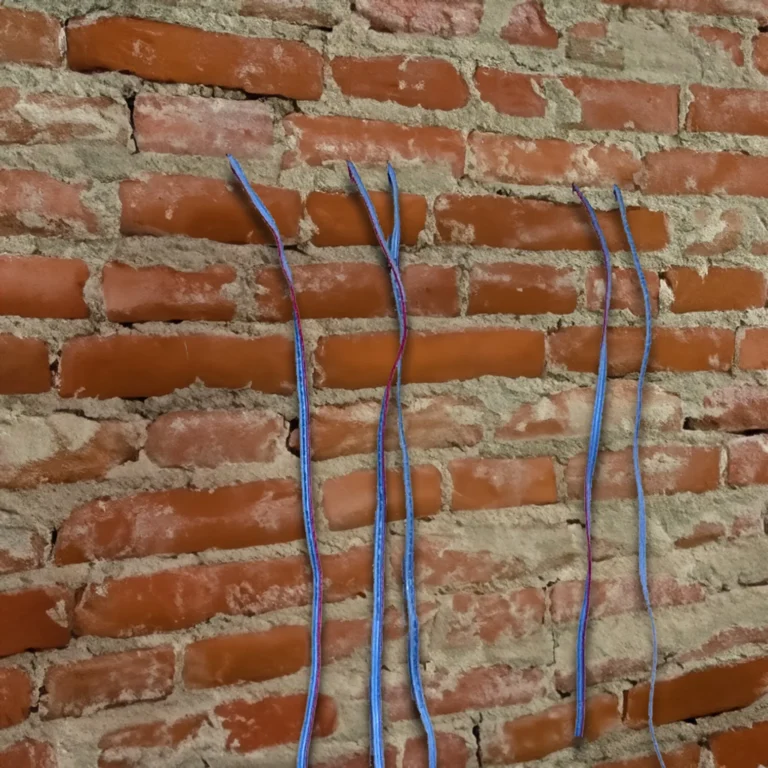
Route a cable to a standard outlet. This method is commonly employed when an outlet already exists in close proximity to the sign’s location.
After running the sign’s wires through the wall, you can place the power supply junction box at either end of the wire route. Some people prefer to have the electrical box run wire or building power directly to the electrical box. Others prefer a standard plug that connects to a nearby outlet.
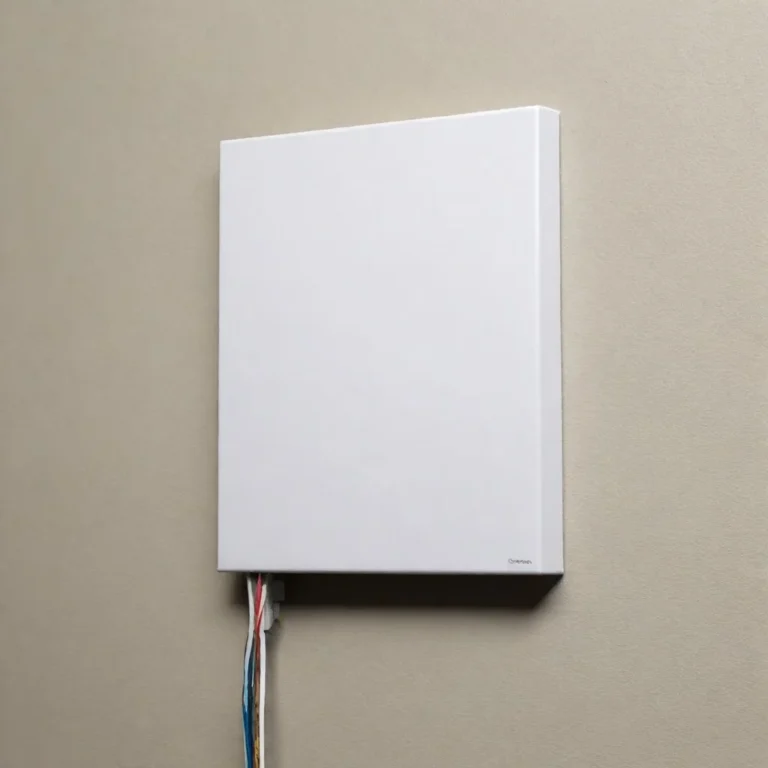
The access panel is included to house the power supply. You must run all 12V wiring through the wall, potentially through studs, and into this in-wall box.
You can install an in-wall box featuring an access door to accommodate the wires and power supply for those with walls undergoing construction or desiring a neater appearance. This option necessitates routing the power directly into the box, avoiding using an outlet.
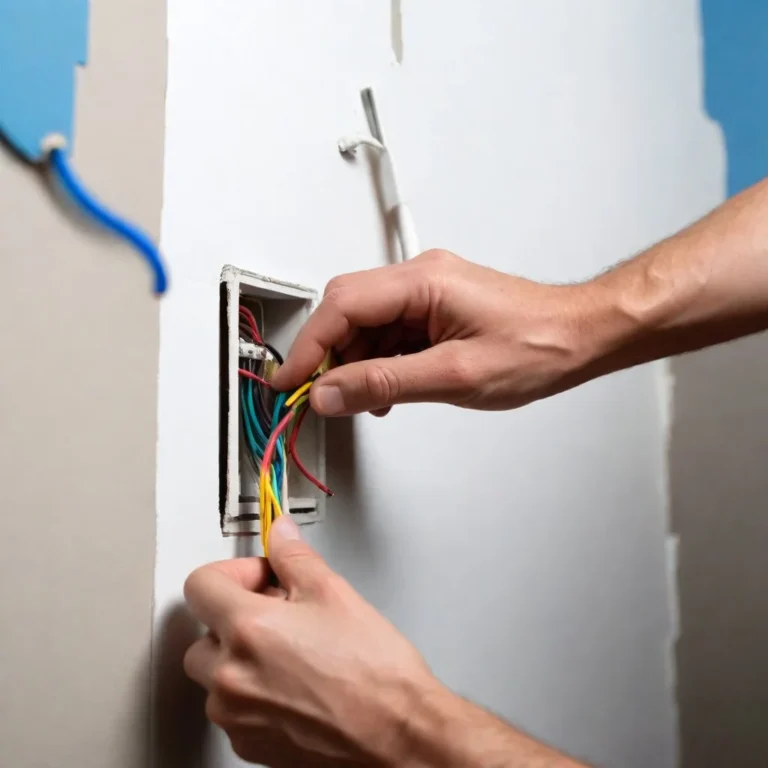
Additional Notes: Power: Standard 110V-220V AC/DC power is suitable for all our signage.
Outlet: This decision lies with your electrician.
Some electricians opt to run conduit to the rear of the wall where the sign will be mounted, installing a hard-wired junction box. Others choose to install a junction box but run a cord to a standard outlet, especially if one already exists nearby. For those adding an outlet, positioning it near the sign itself or at a standard height like a regular outlet is recommended.
Switch: We advise having the electrician incorporate a switch at the junction box. Alternatively, if utilizing a standard outlet or a smart plug, you can add enabling remote control via an app and scheduling automatic on/off functionality during business hours. We can provide a remote control for manual switching, but, please note that if the remote control is lost, you will need to replace the control module.
We have explained every detail for you in our article Install a Backlit Sign.
You can also watch the video below to get more detailed information about Backlit Sign Installation.
SignsAtelier is a sign shop that provides worldwide service and combines creativity with high quality.